Analyze and Optimize Webpack Bundles Size and Contents
When creating web applications with popular frameworks like react.js, angular.js, or similar, most likely, you will be utilizing a bundler/packager tool like webpack to bundle your application source code to combined bundle javascript files that can be loaded and executed by browsers. With the ease of package managers handling most dependencies, it’s easy to lose track of what’s included in your final application bundle file. We may be using an easy-to-use library that streamlines our workflow but it may come with a cost.
In this article, we will talk about ways to analyze and understand what goes into your bundle code and increase your awareness when picking libraries to use and their effect on the final js bundle size. You will:
- Realize what’s really inside your bundle
- Find out the modules make up the most of its size
- Find modules that got there by mistake
- Consider alternatives to optimize your bundle size
There are a few popular tools we can use with minimal effort to analyze our bundle, visually.
Webpack Bundle Analyzer
https://www.npmjs.com/package/webpack-bundle-analyzer
Install:
npm install --save-dev webpack-bundle-analyzer
Run your webpack to create stats.json:
webpack --json > stats.json
Start bundle analyzer:
npx webpack-bundle-analyzer stats.json
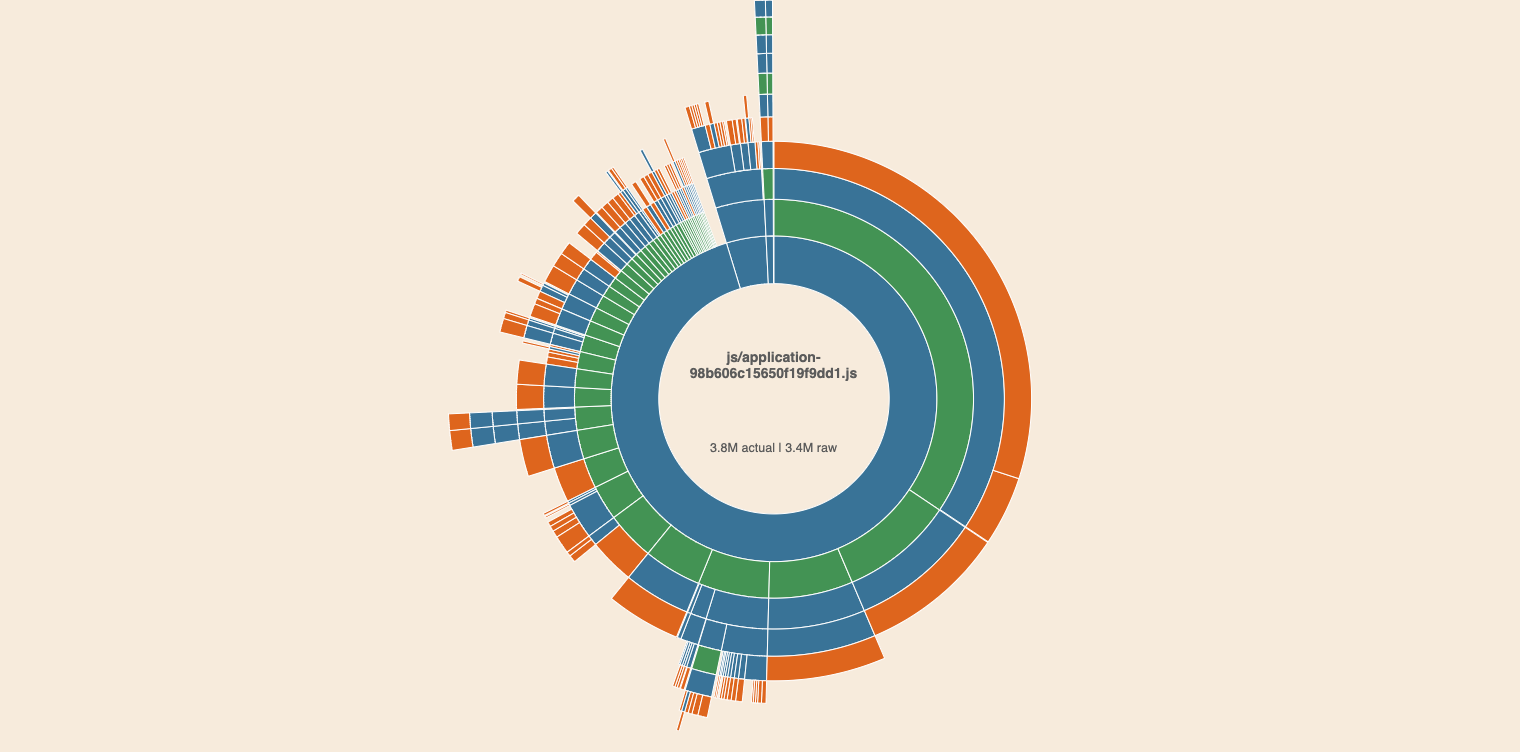
The bundle analyzer will start as a web application in its default port. Visit http://127.0.0.1:8888 to open the bundle analyzer web UI. You can analyze your bundle and the packages/dependencies you use and determine the costly dependencies and think about strategies to optimize or find lightweight alternatives using the bundle analyzer:

Alternatively, https://github.com/danvk/source-map-explorer works in the same way the webpack bundle analyzer works.
Webpack Visualizer
Webpack visualizer is another tool we can use to create a visual representation of your final bundle. you can use the webpack visualizer in two ways.
1) Using their web tool
The easiest way is to use their web tool to just upload your stats.json file. https://chrisbateman.github.io/webpack-visualizer/
2) Create stats.html using the webpack plugin
Webpack visualizer runs as a webpack plugin that generates a stats.html file containing an interactive visualization of your bundle contents. This method is useful if you want to include the creation of the stats.html as part of your CI/CD. It would be helpful for teams that want to continuously analyze every commit and have stats.html generated by the webpack visualizer to be part of your build artifacts in your CI/CD solution.
https://github.com/chrisbateman/webpack-visualizer

Bundlephobia
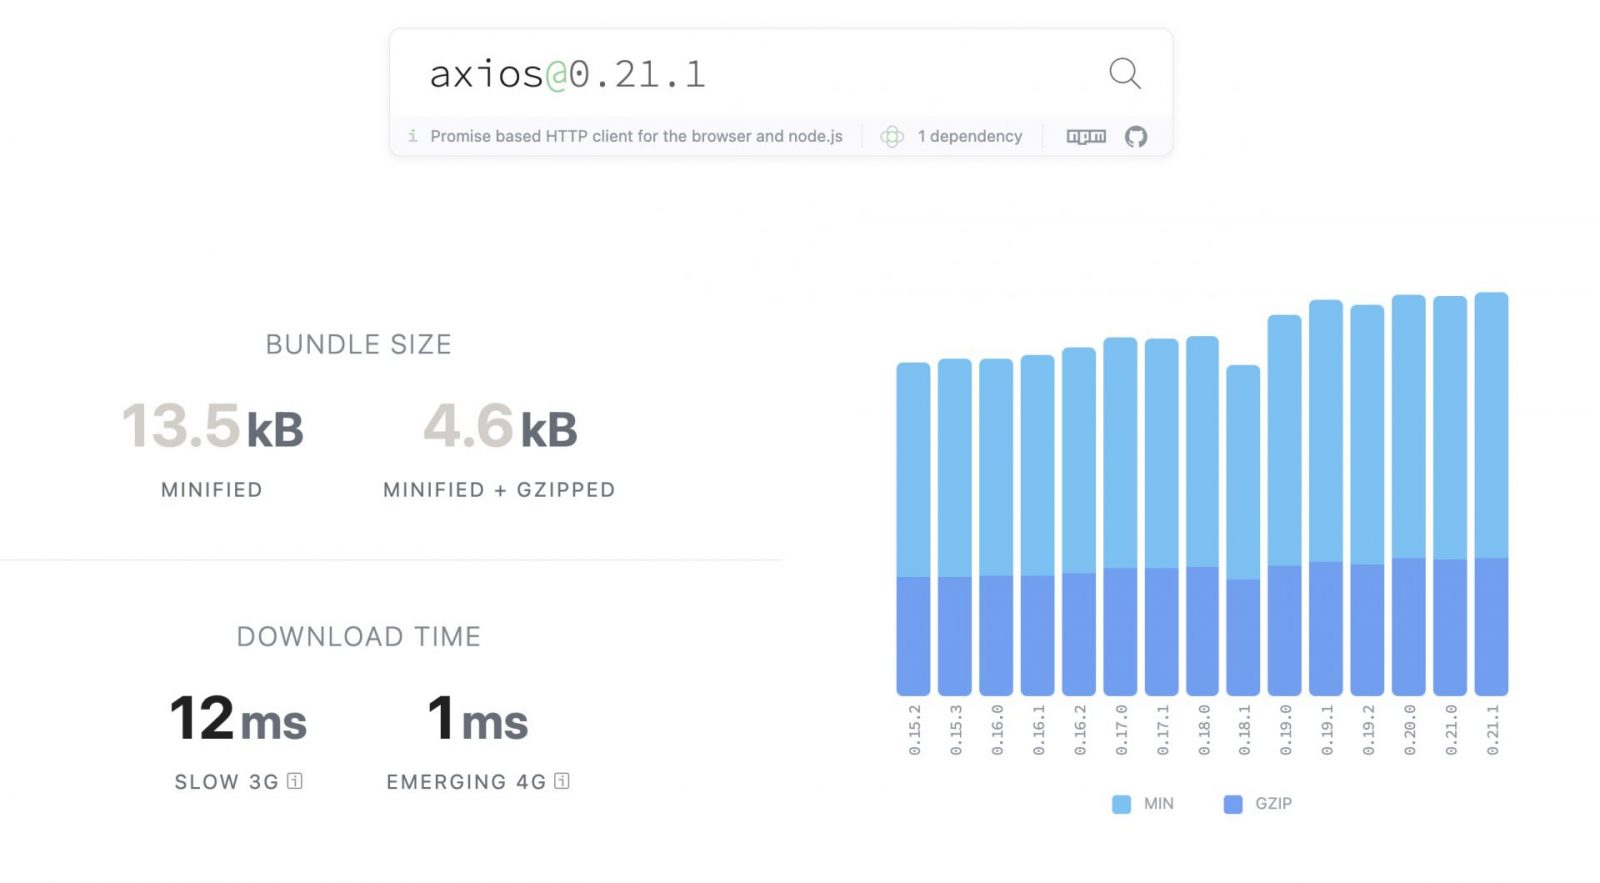
Aside from analyzing your bundle, you can also proactively be conscious of every dependency before adding to your bundle. Bundlephobia helps you to search packages and know what you are getting into, and the cost of the packages in your application. Bundlephobia also highlights the user/browser impact of this package when used in your application, like download and render timings. There is also a historical change between versions of the package you are analyzing highlighted in bundlephobia.

Bundlesize
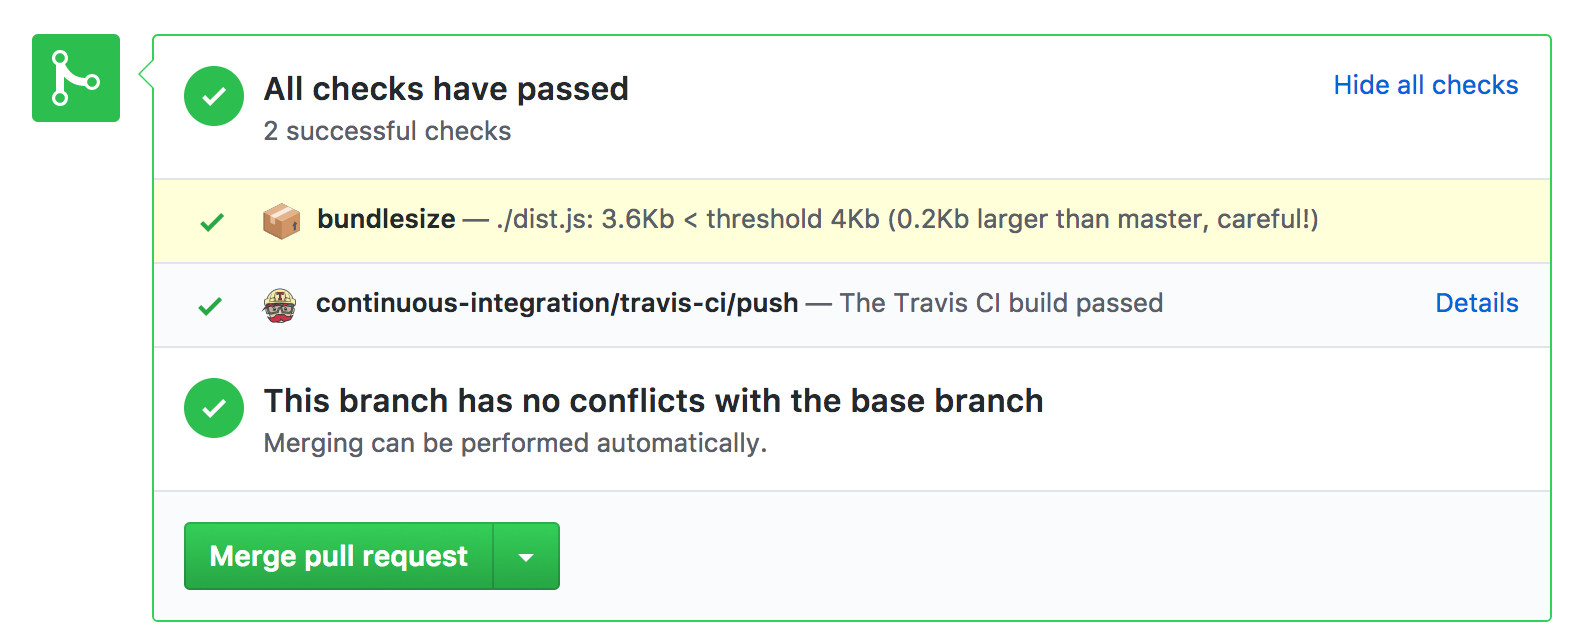
There are different ways to monitor your bundle. One of the simplest ways is to make sure the changes you just made in your code didn’t bloat your bundle. Bundlesize is a simple tool that can be easily added as a step in your CI pipeline that keeps your bundle size in check. Bundlesize will fail if you exceed your maximum bundle size set for your project and also will highlight the delta from the primary branch of your code. This helps developers to see their commit’s impact/change in the bundle size.
https://github.com/siddharthkp/bundlesize

Related Posts
- 5 min readStoring large web app state in URL using pako
- 7 min readThings that shouldn't be included in the client-side Javascript bundles
- 2 min readsnarkdown: The 1KB Markdown Renderer That Does Just Enough
- 4 min readXMLHTTPRequest vs. Fetch: Which JavaScript API Should You Use?
- 3 min readSingle JavaScript file node/express/Instagram authentication (OAuth) and get user photos
- 2 min readOptimize your bundle size by eliminating dead code / tree-shaking in Webpack
Share