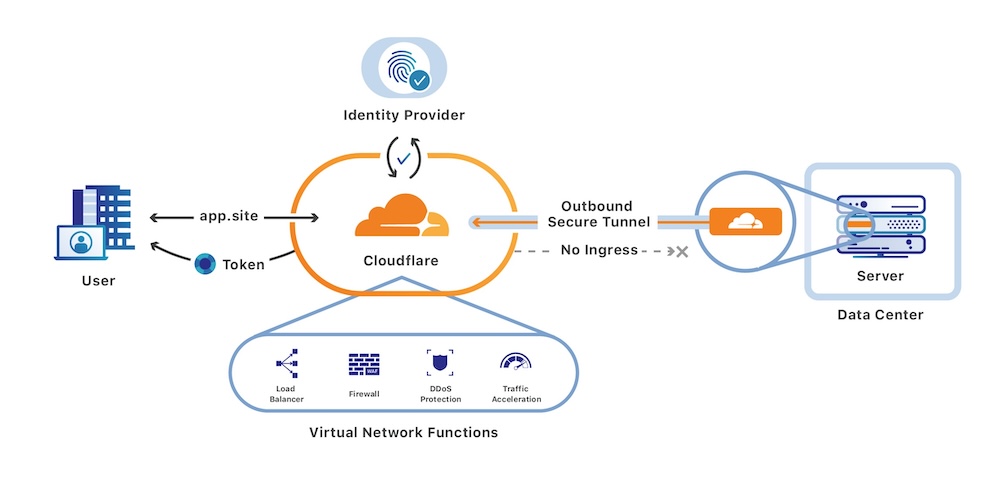
When deploying a web application, ensuring the security of the application is a crucial step that can’t be skipped. In some cases, your application depends on the authenticated users’ roles, permissions, and identity. But a lot of times it only needs to make sure it’s running behind secure controls. Actually, often this is the case. You just want to secure your application and trust that authentication systems do their job. This is where Cloudflare Zero Trust comes into the picture, offering a fresh perspective on web application security. Traditionally, securing servers, and services at the high level brings network-based, firewall-based filtering of traffic into the application. Where VPN access is common. Cloudflare Zero Trust takes a leap further by performing authentication at the DNS proxy layer, speeding up the network communication between your application and the privileged users’ browsers.
The Private Web Applications
Traditionally, VPNs have been the trusted companions for securing remote access to applications. However, the dawn of Cloudflare Zero Trust has shown a bright light on a more efficient path. The core beauty of this service lies in its authentication mechanism that takes place at the DNS proxy layer, significantly speeding up the network, which in turn enhances the user experience through quicker load times.
The setup is a breeze. Everything is managed via a web interface, making the setup process very smooth. You can set up various rules defining the allow/deny rules of access to the application. Your application doesn’t need to handle any authentication protocols, making the setup straightforward and hassle-free.
Securing the Fort: Services and Servers
The magic of Cloudflare Zero Trust extends beyond web applications, waving its wand over other services like SSH, database access, and other TCP or UDP services. By utilizing zero-trust tunnels, it ensures these services remain unexposed to the public, adding an extra layer of security. A simple installation of an agent on the infrastructure and the user’s computer is all it takes to set up a secure passage to these services.
The agents and clients involved in the setup are user-friendly, serving as the bridge to the secure network, ensuring that only authorized personnel can access the services and servers. I really liked how tunnels also removed a bunch of other concerns like having my home server set up to not worry about any public exposure to the web, port forwarding, and firewall rules. Tunnel directly connects and routes internal server traffic to zero trust network.
I found myself not doing any reverse proxy via Nginx or apache I was doing previously for my apps running on different ports. Zero Trust tunnels allow domain/subdomains to be mapped easily to any port using the tunnel.
Cloudflare even offers browser-based SSH and VNC capabilities, making direct SSH/VNC access very portable. I played with this on my iPad on the go and it was interesting. Although I prefer the native tools, it’s still a great option to have.
Authenticate with Your Own Identity Providers
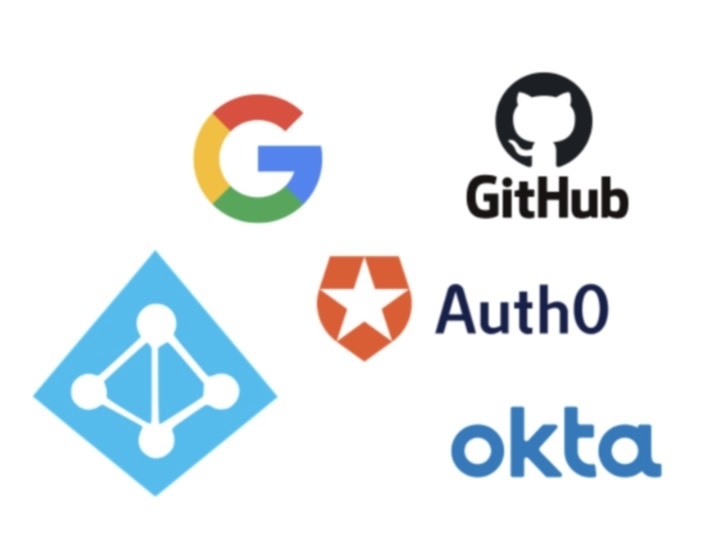
Why reinvent the wheel when you can integrate your existing identity providers (IdP) with Cloudflare Zero Trust? This service is all about making things easier and more secure without adding extra layers of complexity. You don’t need to bang your head against the wall setting up a new authentication method for your employees or users. Cloudflare Zero Trust plays well with your existing IdPs like Google Workspace, Exchange, Okta, and others.
This feature allows for a seamless authentication experience. Your users will find it easy to get on board as they can use their existing credentials. This not only simplifies the authentication process but also cuts down on the time and resources required to manage multiple authentication systems. It’s all about working smart, not hard, and Cloudflare Zero Trust is here to ensure that your web application security is both robust and user-friendly.
By integrating with your existing identity providers, Cloudflare Zero Trust demonstrates its versatility and its ability to fit into your existing infrastructure with ease. It’s not about changing your workflow entirely, but enhancing it to ensure a secure and efficient environment for both your team and your users.
See all authentication providers they support: https://developers.cloudflare.com/cloudflare-one/identity/idp-integration/
Wrapping Up
In conclusion, Cloudflare Zero Trust is like a breath of fresh air in the web security realm. With its free offering for up to 50 users, it’s a perfect fit for teams or hobbyist projects. The ease of setup, coupled with robust security, makes Cloudflare Zero Trust a worthy contender for anyone looking to beef up the security of their digital assets while ensuring a seamless user experience. By hopping on the Cloudflare Zero Trust train, you are not just opting for enhanced security, but also aligning with a modern, efficient, and user-centric approach to securing your web applications and services.